Using STelnet to Log In to a Server
After you log in to a device through a console port and configure the device, you can use STelnet to log in to and remotely maintain the device.
Context
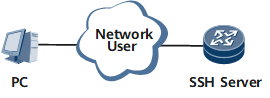
Log in to the server through STelnet from the terminal (SSH client), as shown in Figure 1. On the PC, run SSH1.5 or a later version to set up a local connection with the device.
This section uses PuTTY as an example to describe how to log in to the SSH server through STelnet.
Data Preparation
PuTTYGen.exe and PuTTY.exe have been installed.
Device |
Interface |
IP Address |
|---|---|---|
SSH server |
GE0/1/0 |
10.248.103.194/24 |
PC |
Network port on the PC |
10.248.103.195/24 |
Procedure
- Create an SSH key pair on the SSH client.
- Enter the Windows Command Prompt window.
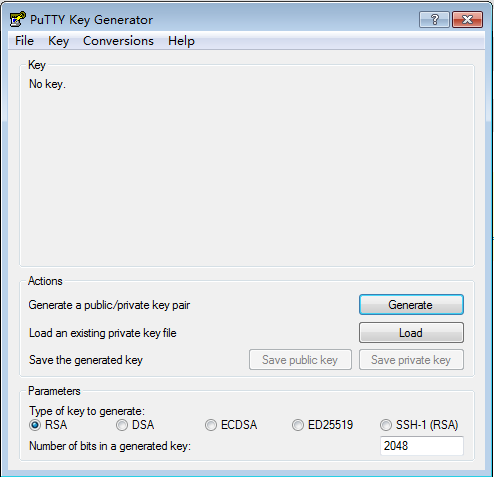
Enter PuTTYGen and click Generate to generate a key pair, as shown in Figure 2.
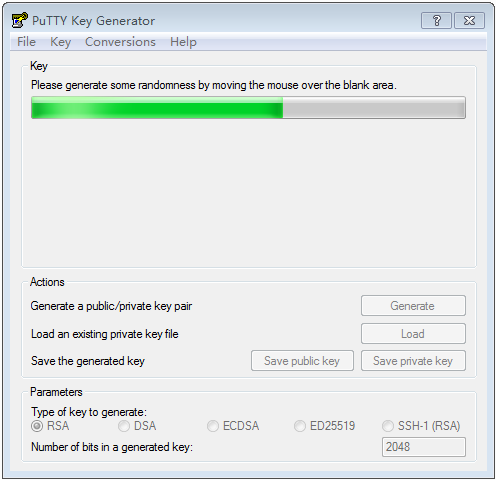
Move the mouse continuously during the generation of the key pair and move the pointer in the window other than the process bar in green. Otherwise, the progress bar stops, and the generation of the key pair stops as well, as shown in Figure 3.
After the key pair is generated, enter the password in the Key passphrase text box and enter the password again in the Confirm passphrase text box. This password is used for the SSH terminal user to log in to the SSH server. Click Save private key, enter private for the name of the private key file, and click Save. Copy the generated public key to the Notepad and name it public.txt.
Figure 4 PuTTY Key Generator (3)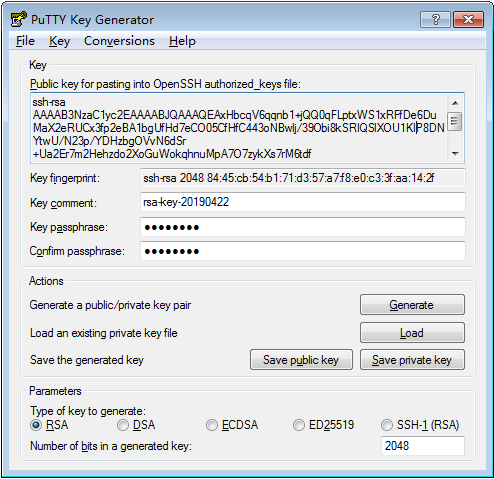
- Configure the SSH client.
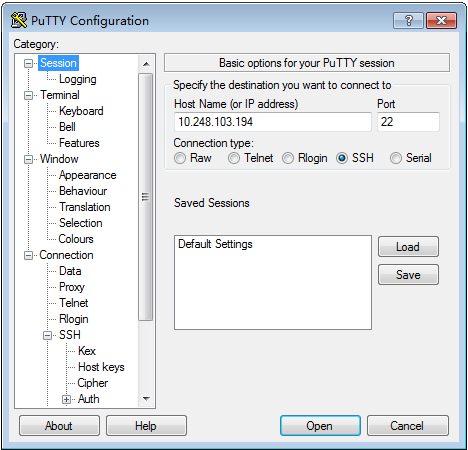
Start the PuTTY.exe program. The PuTTY configuration page as shown in Figure 5 is displayed. For security purposes, using PuTTY 0.58 or later is recommended. Enter the IP address of the SSH server in the Host Name (or IP address) text box.
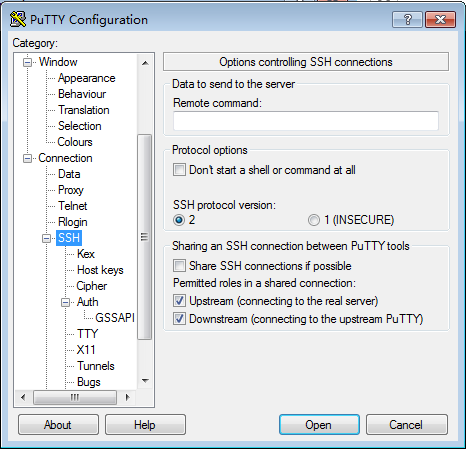
In the navigation tree on the left of the SSH client configuration page, choose Category > Connection > SSH. The dialog box as shown in Figure 6 is displayed. In the Protocol options area, set Preferred SSH protocol version to 2.
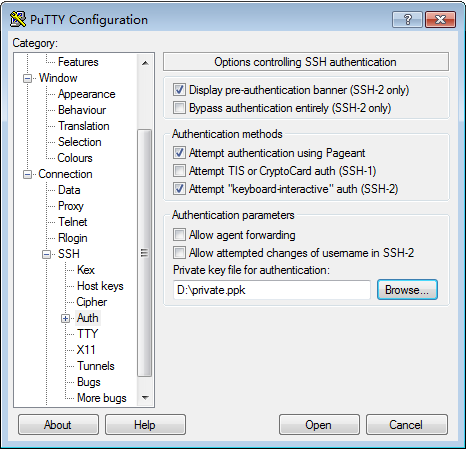
Select Auth in SSH. The dialog box as shown in Figure 7 is displayed. Click Browse to import the private key file private.ppk.
Click Open. If the connection is normal, the system prompts you to enter the user name, as shown in Figure 8.

Follow-up Procedure
When the network administrator needs to disconnect login users from the device, you can run the kill user-interface { ui-number | { { console | vty | nca | rpc } ui-number1 | interface-name } } command to clear online users.
Console can be specified only for the admin VS.