Configuring a Fit AP to Go Online
Pre-configuration Tasks
- Configure a switch to go online on the iMaster NCE-Campus.
- Complete the following pre-configurations on the iMaster NCE-Campus:
- Import the AP list.
- Configure the relationship between the switch and APs.
- Import the license.
- Install an AP and power it on.
- APs can go online automatically in PnP mode only when they have factory defaults.
- Configure a DHCP server.
If the AP and AC use the same DHCP address pool, the Option 148 parameter ap-agilemode=tradition-fit is required to prevent the AP from switching to the cloud mode affected by the Option 148 parameter agilemode=agile-cloud. For the AP, ap-agilemode takes precedence over agilemode.
If APs and the AC reside on different network segments, the Option 43 parameter needs to be configured for the DHCP address pool dedicated for the APs to specify the AC's IP address on the DHCP server. When an AP requests an IP address, it can obtain the AC's IP address through the Option 43 parameter. The AP then can automatically initiate a registration request to the AC.
Procedure
- Enable the function of transmitting the PnP VLAN to downstream devices on the upstream device directly connected to the AP.

If the AP communicates with the switch through a non-cloud-based device, skip this step and configure network connectivity.
- Access the web platform of the switch through the iMaster NCE-Campus and configure the source IP address of the CAPWAP tunnel.
- Click the switch name in the device list of the iMaster NCE-Campus. The device details page then is displayed.
- Click Open Web System in the upper-right corner of the page. The web platform of the switch then is displayed.
- Configure the source IP address of the CAPWAP tunnel.
# Choose .
# Set AC source address to VLANIF and select the VLANIF interface for AP registration.
The IP address of the selected VLANIF interface must be the same as the IP address specified by the Option 43 parameter on the DHCP server for the APs.
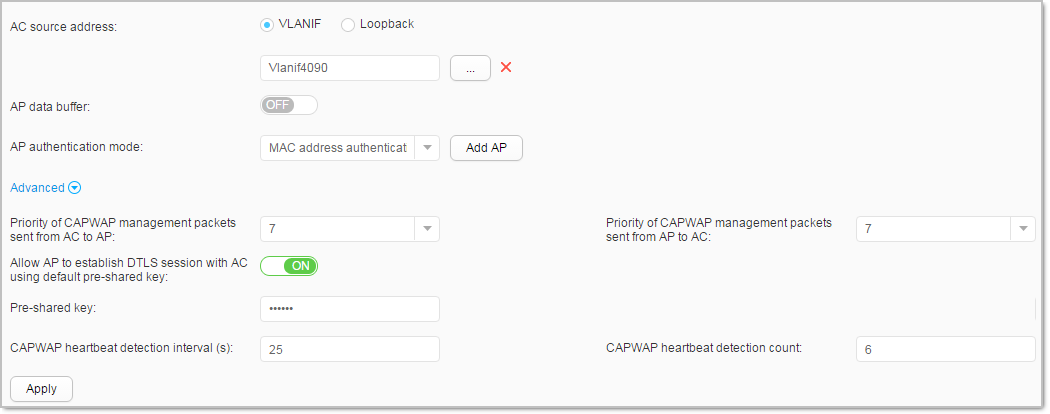
# Click Apply to save the configuration.
- Connect the AP to the local network through an Ethernet cable.
The AP obtains an IP address from the DHCP server and registers with the AC.
Verifying the Configuration
Log in to the iMaster NCE-Campus and check the AP status. If the AC status is Normal, the AP has successfully registered with the AC and gone online.