VLAN
Context
- A switch supports 4094 VLANs from VLAN 1 to VLAN 4094.
- VLANs can isolate the hosts that require no communication with each other, reducing broadcast traffic and improving network security.
Procedure
- Creating a VLAN
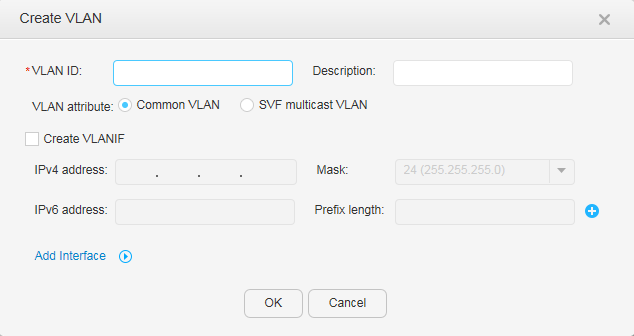
- Click Create. The Create VLAN dialog box is displayed, as shown in Figure 1.
Table 1 describes parameters in the Create VLAN dialog box.
Table 1 Parameters for creating a VLAN Parameter
Description
VLAN ID
ID of the VLAN. This parameter is mandatory, and its value ranges from 1 to 4094. VLAN 1 is the default VLAN, and the system will not re-create it.
Description
Description of the VLAN. This parameter is optional.
VLAN attribute
Attribute of the VLAN. This parameter is mandatory. Set VLAN attribute to Common VLAN or SVF multicast VLAN.
NOTE:This parameter is available only when the device is enabled with SVF.
IPv4 address
IPv4 address of a VLANIF interface, such as 10.10.10.1. This parameter is optional and can be configured only for a VLANIF interface.
Mask
Subnet mask of the IP address. This parameter is optional.
IPv6 address
IPv6 address, such as FC00:0:130F:0:0:9C0:876A:130B. This parameter is optional and can be configured only for a VLANIF interface.
Prefix length
Length of an address prefix. This parameter is optional and the value ranges from 1 to 128.
Intra-VLAN proxy ARP
Indicates whether to enable ARP proxy in a VLAN:- ON: Enable ARP proxy.
- OFF: Disable ARP proxy.
NOTE:In centralized forwarding, ARP proxy must be enabled in a VLAN.
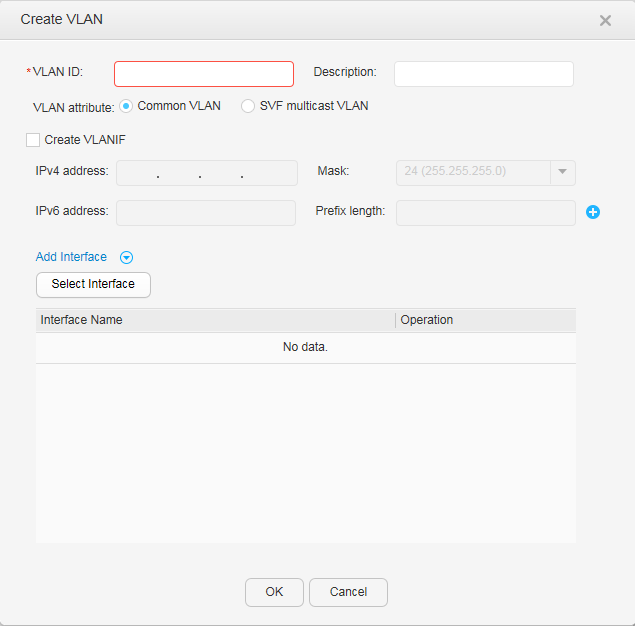
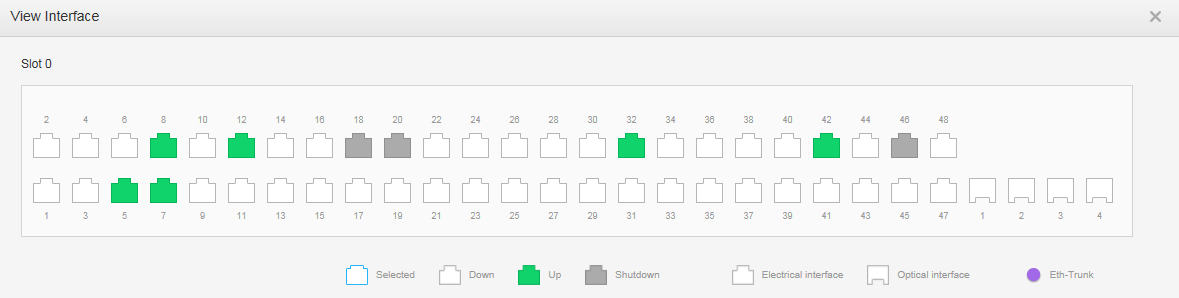
- Click Add Interface. The Add Interface area is unfolded, as shown in Figure 2.
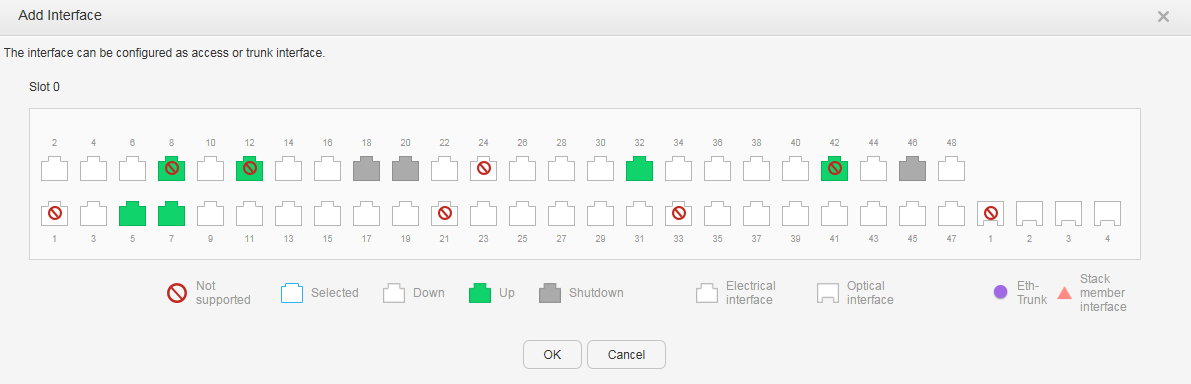
- Click Select Interface. The Add Interface page is displayed, as shown in Figure 3.
- Click Create. The Create VLAN dialog box is displayed, as shown in Figure 1.
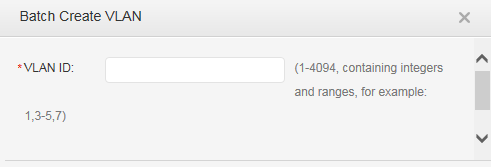
- Creating VLANs in a batch
- Click Batch Create. The Batch Create VLAN dialog box is displayed, as shown in Figure 4. Set parameters.
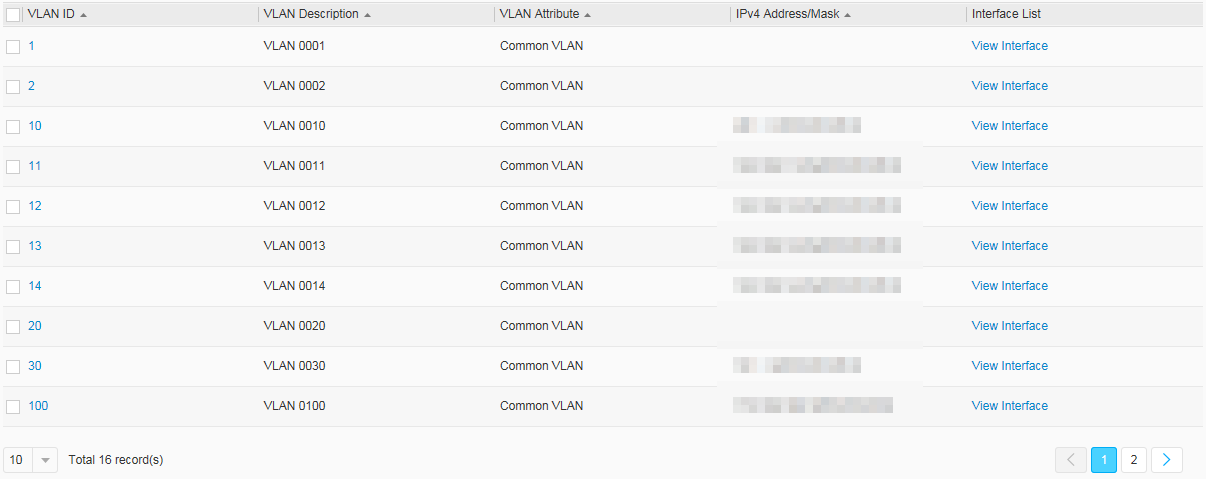
- Querying a VLAN
- Modifying a VLAN
- Deleting a VLAN
- Select a VLAN to be deleted and click Delete. The system asks you whether to delete the VLAN.

VLAN 1 is the default VLAN and cannot be deleted.
- Select a VLAN to be deleted and click Delete. The system asks you whether to delete the VLAN.
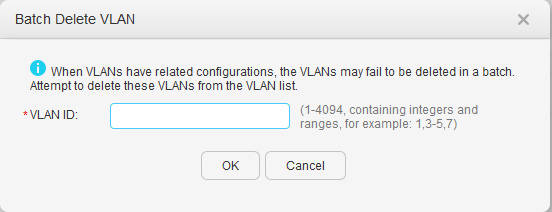
- Deleting VLANs in a batch
- Click Batch Delete. The Batch Delete VLAN dialog box is displayed, as shown in Figure 8. Set parameters.