File Management
Context
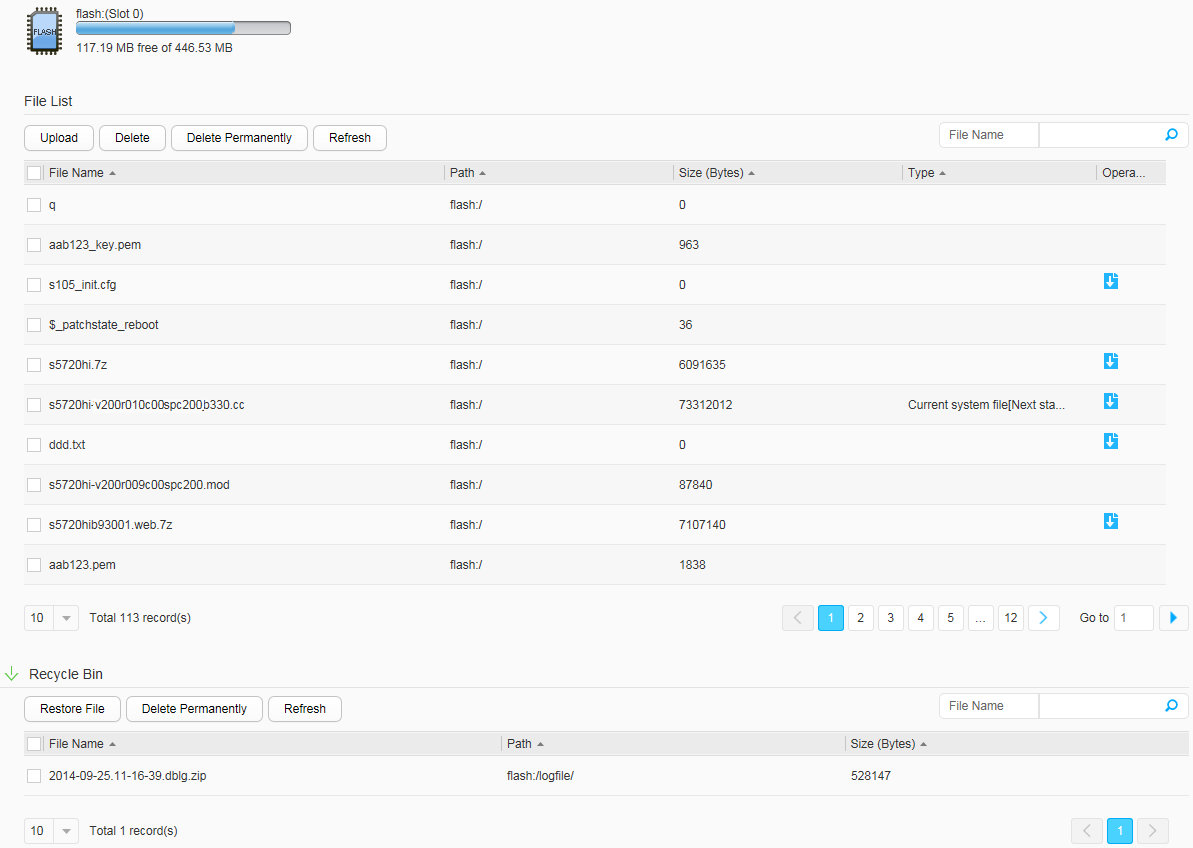
The web system provides file management functions to facilitate
user operations. Figure 1 shows the File
Management page.
When a switch is in SVF mode, it cannot manage files on the AS in
independent mode.
Procedure
- Upload files.
You can upload local files to a switch.
- Select local files to be uploaded and click OK. After the files are uploaded, the system displays
a message indicating the successful upload.
- You cannot upload a file with the same name as files in File Management.
- You can only upload files with the following file name extensions: .cc, .pat, .zip, .7z, .txt, .log, .dblg, .cfg, .dat, .bat, .jpg, .jpeg, .png, .pem, .p12, .cer, .bin, .mod and .xml.
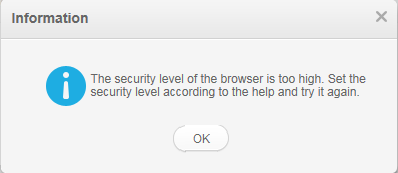
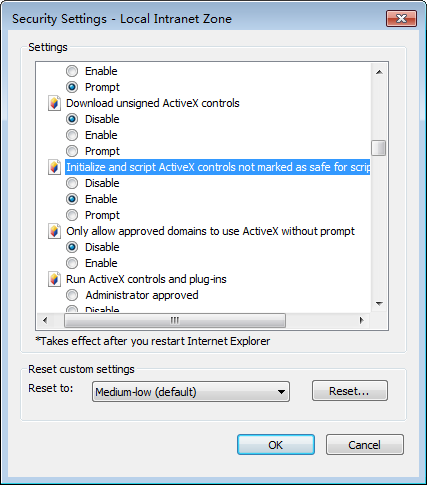
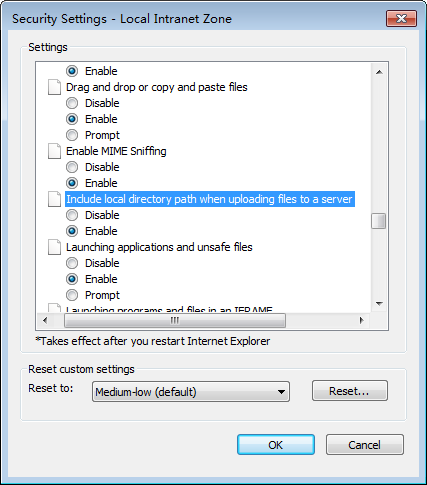
- If the security level of the web browser is too high, the message "The security level of the browser is too high" may be displayed when you attempt to upload a file, as shown in Figure 2. In this case, choose , and click Custom level. In the displayed dialog box, set Initialize and script ActiveX controls not marked as safe for scripting and Include local directory path when uploading files to a server to Enable, as shown in Figure 3 and Figure 4.
- Select local files to be uploaded and click OK. After the files are uploaded, the system displays
a message indicating the successful upload.
- Download files.
You can download files from the switch to a local device.
- Click
 next to a file to download the file.
You can only download files with the following file name extensions: .cc, .pat, .zip, .7z, .txt, .log, .dblg, .cfg, .dat, .bat, .jpg, .jpeg, .png, .pem, .p12, .cer, .bin, .mod and .xml.
next to a file to download the file.
You can only download files with the following file name extensions: .cc, .pat, .zip, .7z, .txt, .log, .dblg, .cfg, .dat, .bat, .jpg, .jpeg, .png, .pem, .p12, .cer, .bin, .mod and .xml.
- Click
- Move files to the recycle bin.
After files are moved to the recycle bin, they still exist on the switch. You can restore the files in the recycle bin.
- Choose and click the File Management tab.
- Select the file to be deleted.
- Click Delete.
- Click OK in the dialog box that is displayed.
- Delete files permanently.
You can permanently delete files from the switch.

The files deleted permanently cannot be restored.
- Choose and click the File Management tab.
- Select the file to be deleted.
- Click Delete Permanently.
- Click OK in the dialog box that is displayed.
- Restore files.
You can restore the files in the recycle bin to the storage device.
- Choose and click the File Management tab.
- Select the file to be restored.
- Click Restore File to restore the file. The file will be removed from the recycle bin.
- Delete files from the recycle bin.
The files in the recycle bin still occupy storage space. You can delete unnecessary files permanently from the recycle bin to save the storage space.
- Choose and click the File Management tab.
- Select the file to be deleted permanently.
- Click Delete Permanently.
- Click OK in the dialog box that is displayed.