Scenario 4: Top Wall Mounting
Context
Only the S5720-16X-PWH-LI-AC can be installed on the top wall.
Before drilling
holes on a wall, make sure that no power cables are hidden in the
wall.
Tools and Accessories
- ESD wrist strap or ESD gloves
- Phillips screwdriver
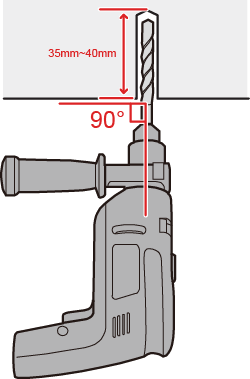
- Hammer drill (with φ8 drill bit)
- Adjustable wrench
- M6 expansion bolts (four for each switch)
- M4 screws (six for each switch)
- Top-mounting brackets (two for each switch)

The M4 screws are included in the installation
accessory package, whereas the M6 expansion bolts and top-mounting
brackets need to be purchased separately.
Procedure
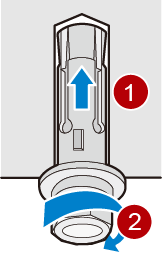
- Wear an ESD wrist strap or ESD gloves. When wearing an ESD wrist strap, ensure that it is in close contact with your wrist and grounded properly.
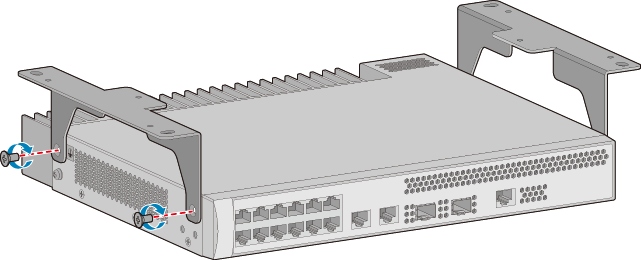
- Use M4 screws to attach a top-mounting bracket to each
side of the switch.
Figure 1 Installing top-mounting brackets
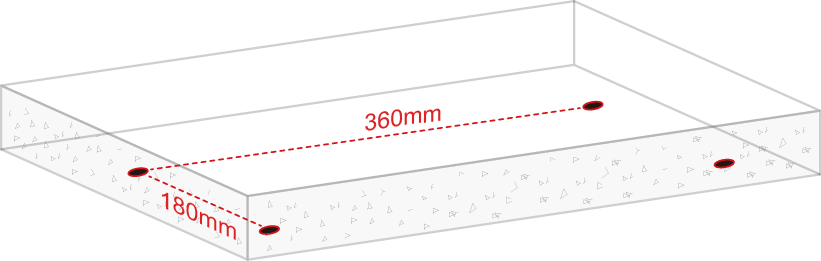
- Use a marker to mark the positions of mounting holes according to the size of the switch and positions of the top-mounting brackets. See Figure 2.
- Install M6 expansion bolts on the top wall.
- Use a hammer drill (with φ8 drill bit) to drill holes
in the marked positions.
- Insert M6 expansion bolts into the holes and tighten
the nuts to secure the bolts in place.
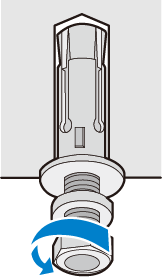
- Loosen and remove the nuts from M6 expansion bolts.
- Use a hammer drill (with φ8 drill bit) to drill holes
in the marked positions.
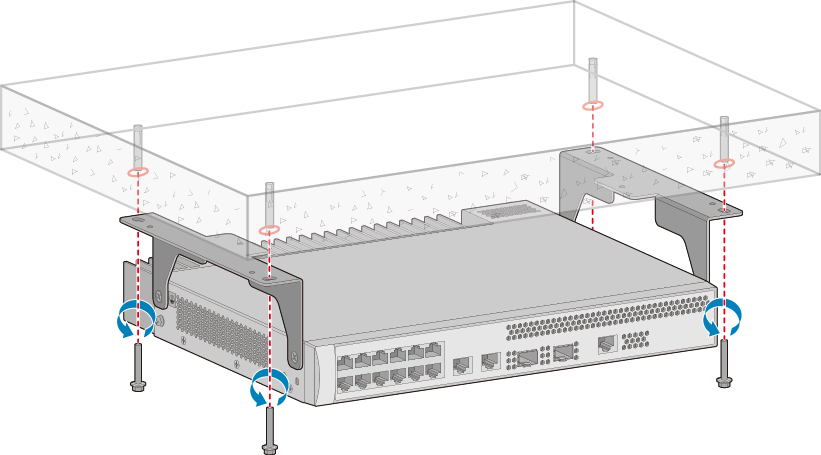
- Mount the switch on the top wall.
- Align the holes on the top-mounting brackets with the M6 expansion bolts and push the brackets onto the M6 expansion bolts.
- Fasten the nuts on the M6 expansion bolts.
Figure 3 Mounting the switch on the top wall